Confirming email
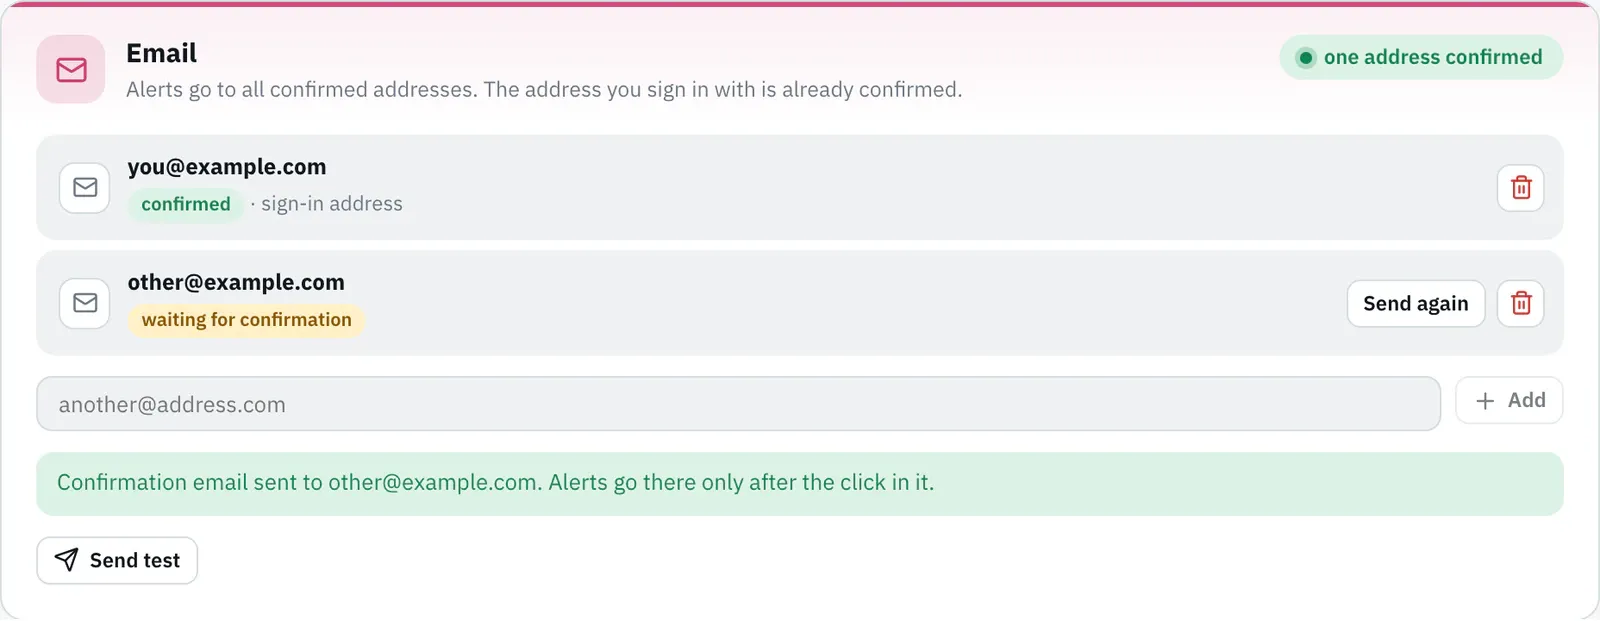
Email alerts go to all confirmed addresses of your account. The address you sign in with is already confirmed; you don’t have to do anything for it.
Adding another address
Section titled “Adding another address”-
Under Notifications, enter the address in the Email card and click Add.
-
Open the confirmation email in that address’s inbox and click the link. It is valid for 24 hours.
-
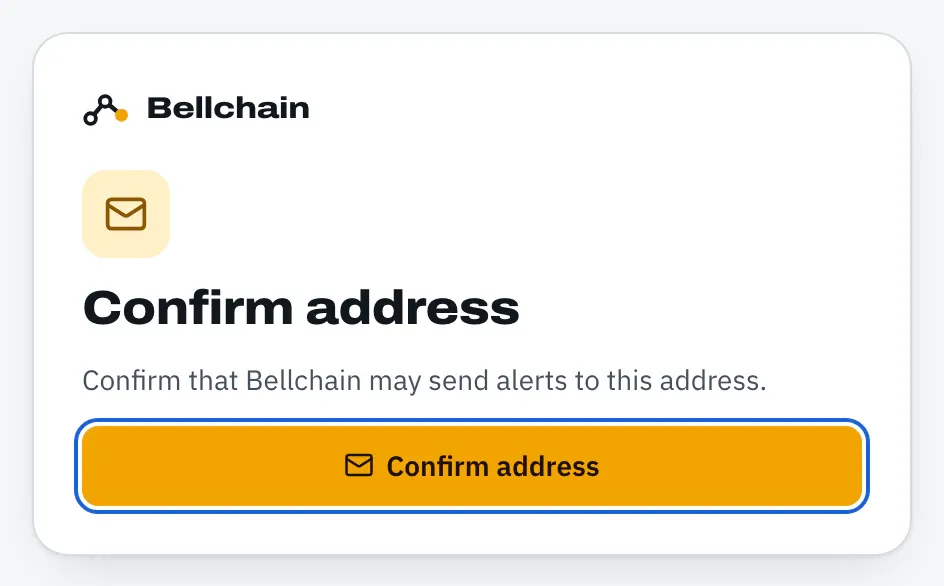
On the page that opens, click Confirm address.
Only then do alerts go there too. If no email arrived, use Send again; at most three confirmation emails per address and day, so that nobody can use Bellchain to fill other people’s inboxes.
What alert emails look like
Section titled “What alert emails look like”- Sender: Bellchain, alerts@notify.bellchain.app. If the first email lands in spam, mark it as “not spam”.
- Subject: the chain’s name by default, freely chosen in the Email node with placeholders such as
{{chain}}. - Content: the message and the values at the time of the alert.
- Buttons: “Open chain”, “Acknowledge” and “Mute for 4 h”.
With many alerts in quick succession, the first email goes out right away and further ones within 10 minutes arrive together in one email, such as “5 alerts from Bellchain”.
Unsubscribing and muting
Section titled “Unsubscribing and muting”- Unsubscribe: every alert email has a link “Unsubscribe from email alerts” at the bottom; many email apps also show a button for it. After that no more alerts go to this address, push and Telegram keep running. Under “Notifications” you subscribe it again with Subscribe again.
- Mute: “Mute for 4 h” in the email mutes only this chain for 4 hours.
- Remove: the trash can next to an address removes it.
Links in emails only act after a click on the page that opens. That way virus scanners that check links in advance don’t trigger anything.